(Unity) Intro to Unity : Roll-A-Ball (Sample Game)

(ETA : 45-60 minutes)
In this tutorial, you will be introduced to the Unity Game Engine and customize a game of Roll-A-Ball.
Obtaining The Unity Editor
Decades ago, the quest to create a video game was one of formiddable barriers and nasty surprises. Without years of programming experience (and perhaps a degree or two), hundreds of thousands in funding, and access to the latest computer hardware and tooling, creating a game simply wasn’t practical.
In modern times, these barriers have all but fallen. Powerful, creator-friendly “Game Engines” have risen to great popularity, removing the need for heavy-duty programming and allowing anyone to get their ideas into an interactive digital form. As a result, the once-small indie game scene has exploded with a rich variety of unique, free games from creators large and small (find a bunch here).
One of these game engines, Unity, is what we’ll use to create your games in this course. Striking a balance between beginner-friendliness and industrial-grade utility, Unity will give you an authentic, uncompromised game-development experience. Other popular game engines include Game Maker (what UnderTale was made with), Unreal Engine (what Fortnite was made with), etc.
- Visit unity.com
- Select “Get Started”.
- Select the “Individual” tab, then “Get Started” under the “Personal” plan.
- Under “First-time users”, select “Start here”, read and agree to Unity’s terms, then download.
Unity Hub
The program you downloaded from unity.com is called “Unity Hub”. It is a central “starting point” for all of your Unity-related work. Run it to find your current projects, create a new one, install a new version of unity, etc. For now, its only purpose is to help us install an actual Unity Editor and get our account set up.
- Once downloaded, run the UnityHubSetup program.
- Read the installation terms and agree.
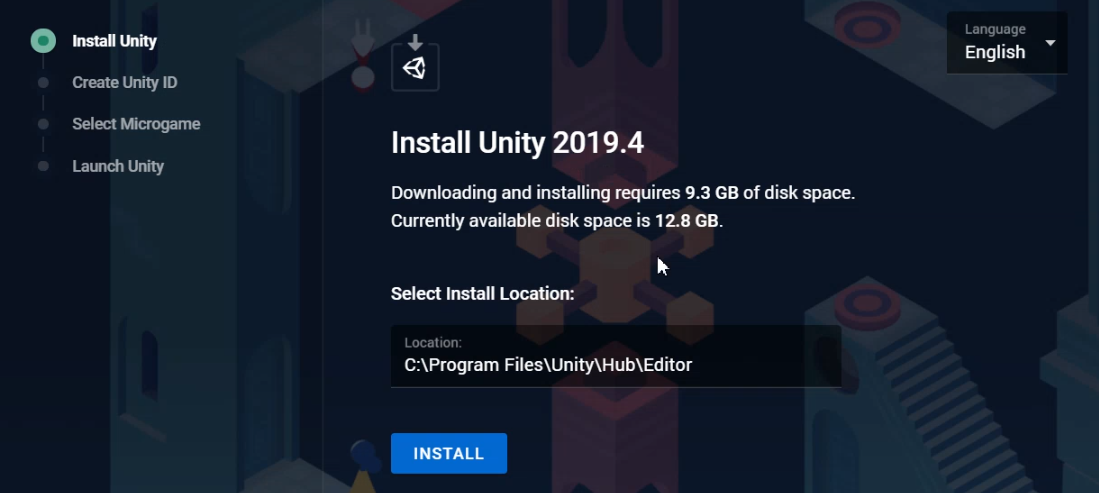
- In the “Install Unity” menu, Select “Install”
- In the “Create Unity ID” menu, enter a username, email, and secure password you won’t forget (I recommend using a free password manager such as BitWarden, as this will make managing excellent, hard-to-guess-but-hard-to-remember passwords easier to manage and use in various programs / websites).
- In the “Select Microgame” menu, specify a name for your first project, select “Empty 3D” and then “Continue”. We will be importing a project later so we have something to start with, but for now we need an empty project.
- Wait until your Unity Editor installation completes (progress bar at the bottom of the window) and select the “Launch Unity” button.
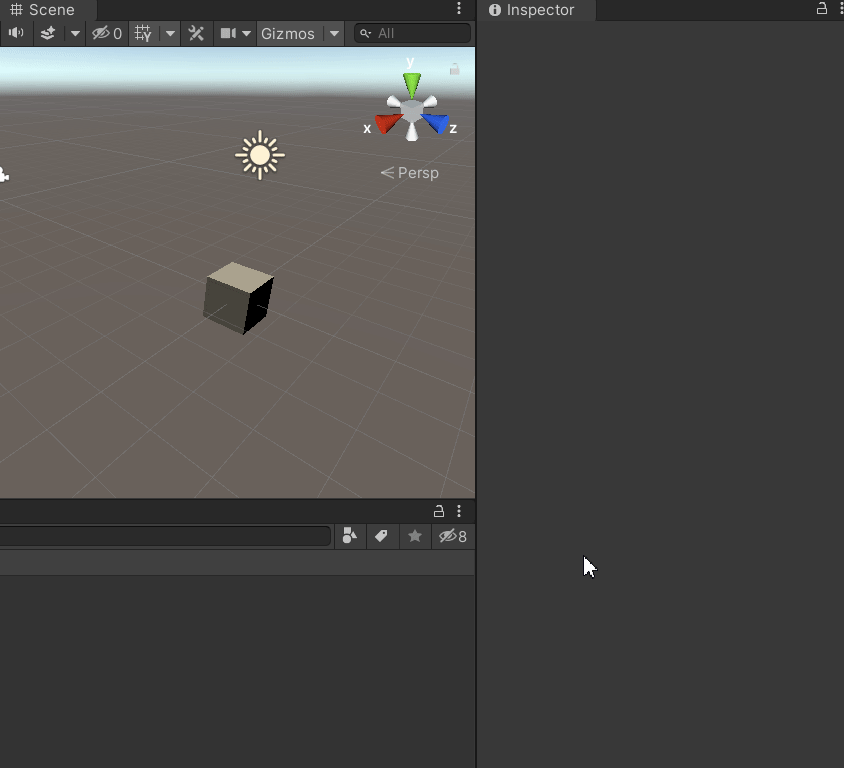
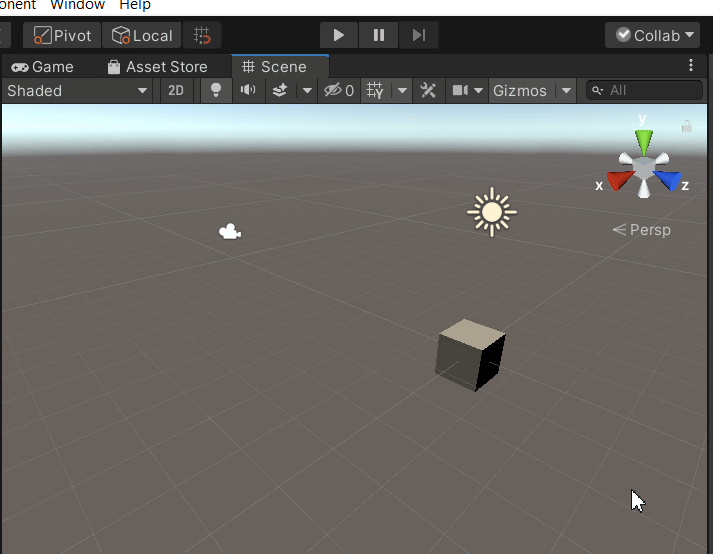
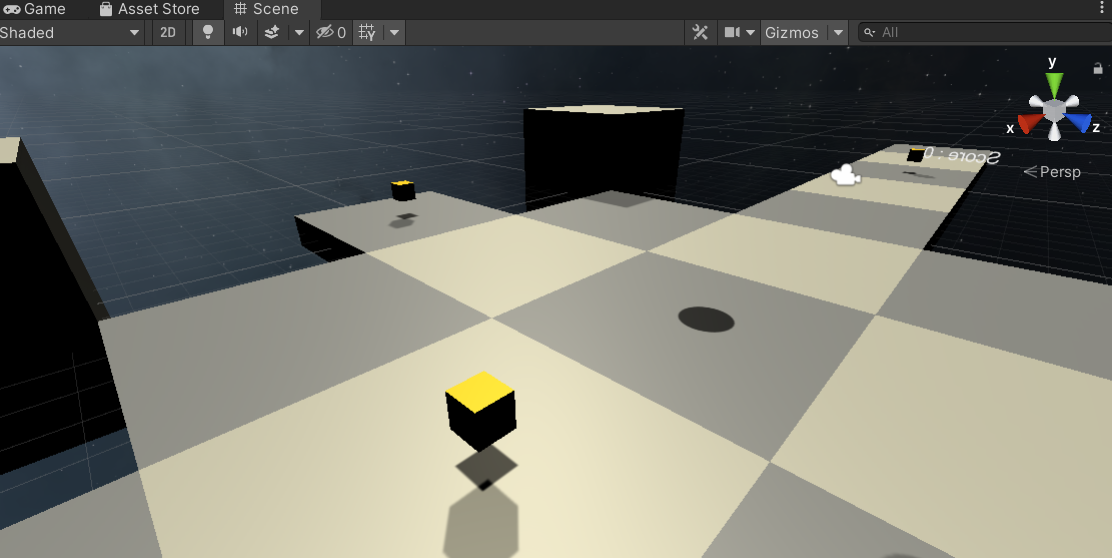
The Unity Editor
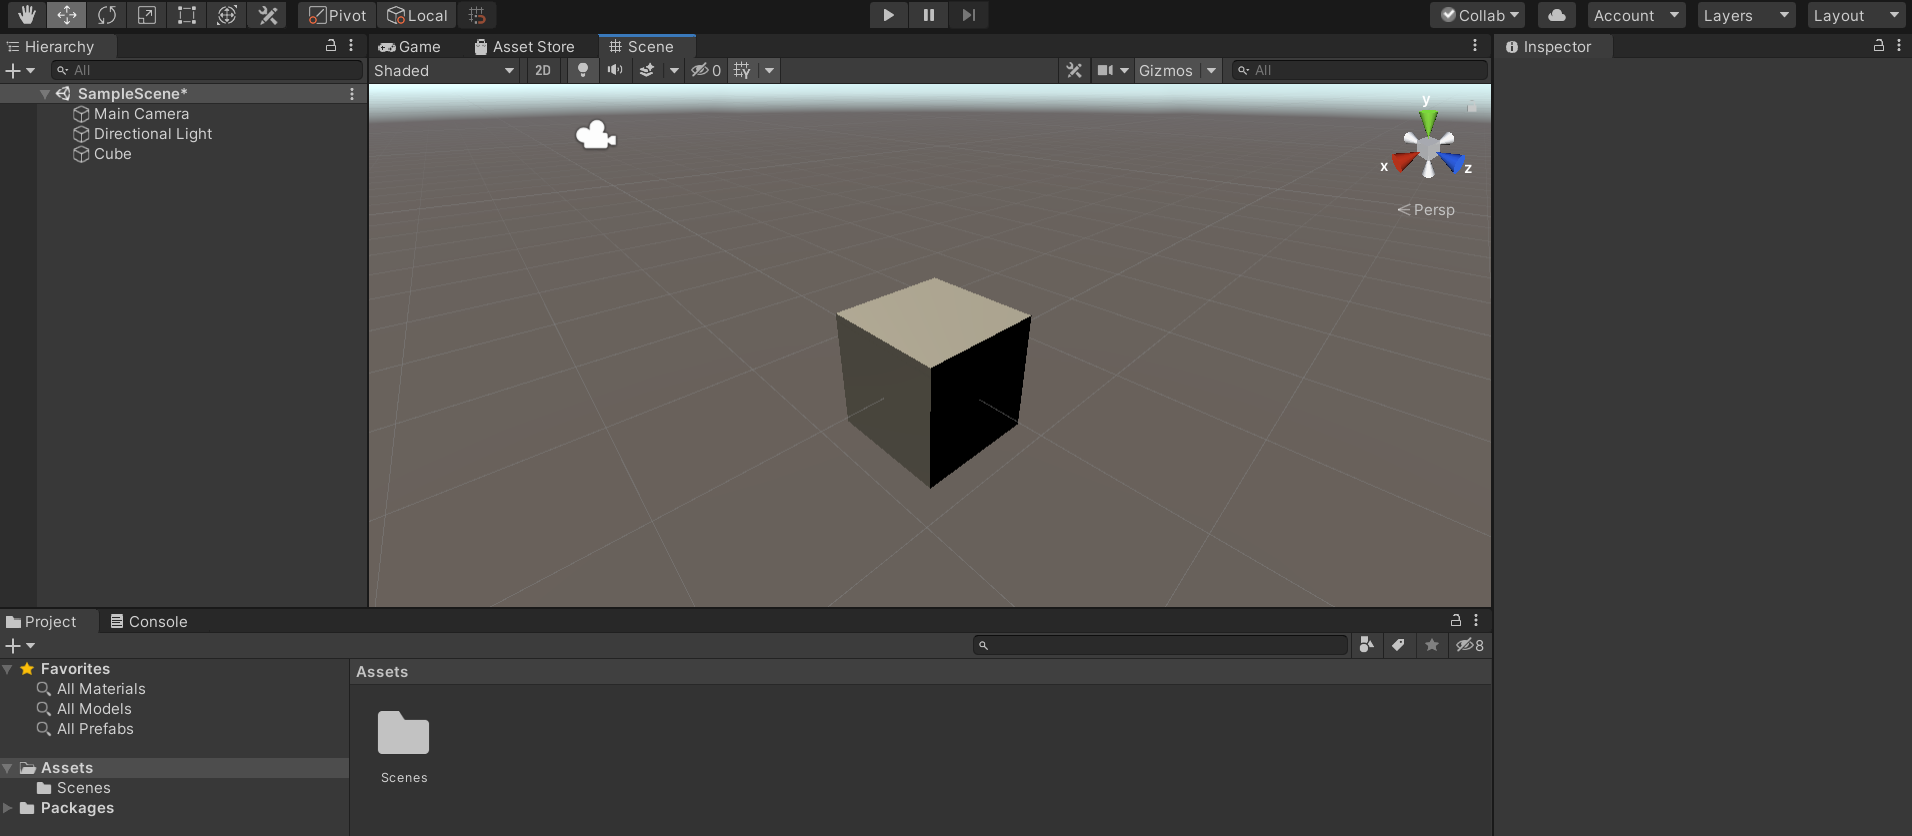
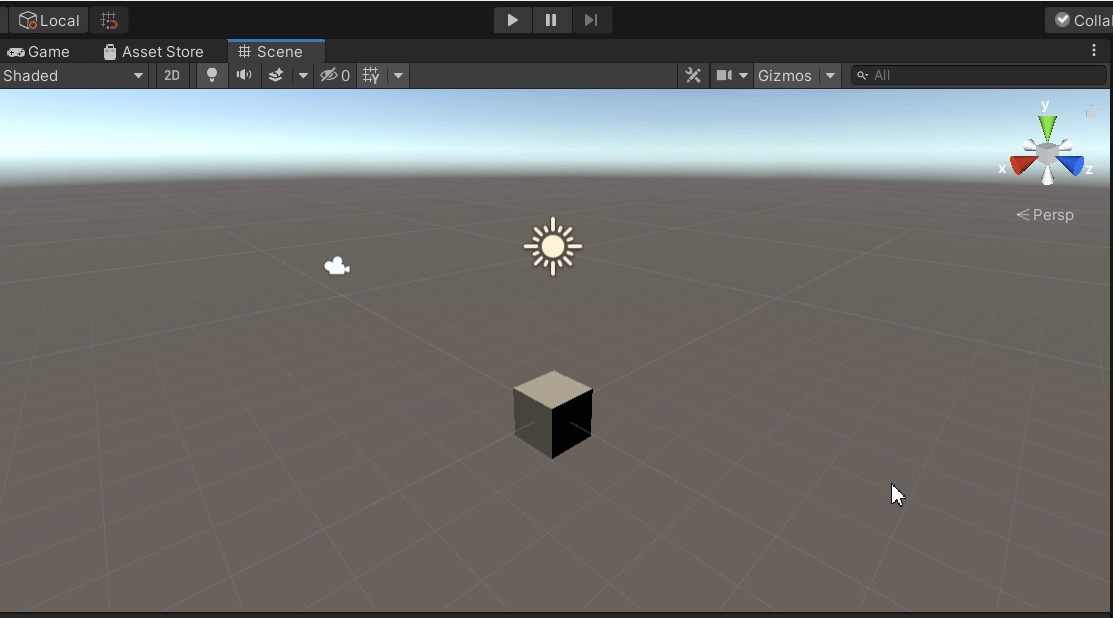
You should see something like the above image. This is the Unity Editor, where you will spend a lot of time. It will allow us to add new objects to our game (“GameObjects”), move them around, edit their properties, the way they behave, etc. At the moment, our game is essentially empty (you shouldn’t even see a cube– we’ll fix that in a bit!).
The Unity Editor has four important windows to understand, which we’ll briefly explore.
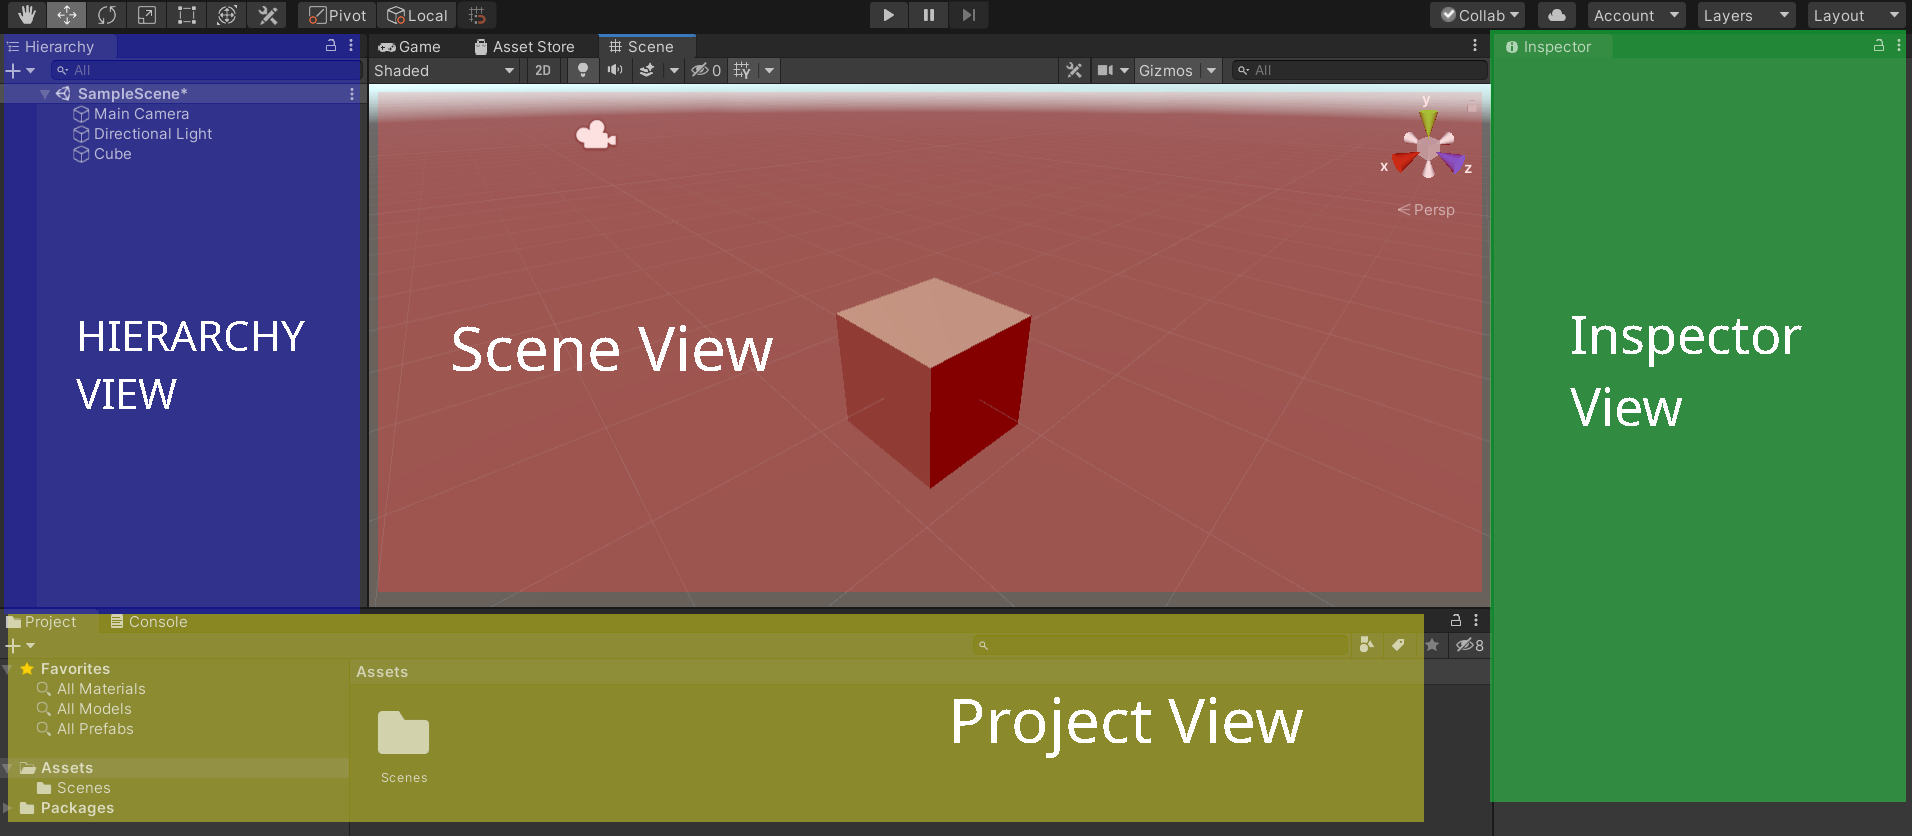
- The Scene View : This view allows us to see how our gameobjects are arranged in the current scene (level). As you’ll discover below, we can use this view to move, rotate, and scale our gameobjects, then fly around and get a better look at our world.
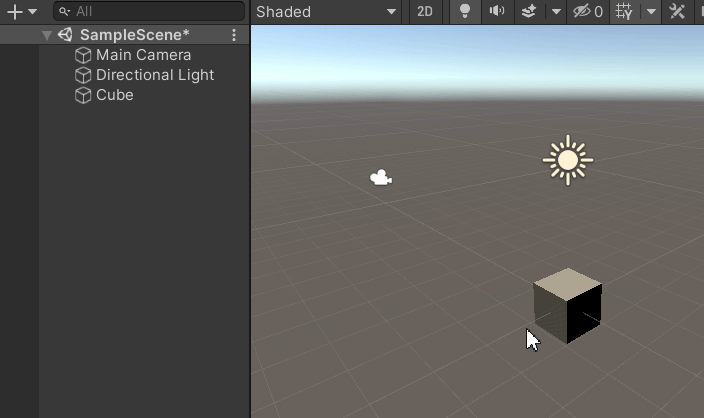
- The Hierarchy View : A basic list of every “Gameobject” in your scene. If it’s in your scene / world, you’ll find it listed here. In the above example, you may see that there are three gameobjects in the current scene– A “Main Camera” gameobject, a “Directional Light” gameobject, and the “Cube” that you’ll be creating soon.
- The Inspector View : Less important for now, this view allows us to see the “properties” and “components” that each of our gameobjects is made of. If you click on a gameobject in the hierarchy view, this “Inspector” view will allow you to “inspect” how that gameobject works.
- The Project View : This view shows us all of the files that comprise our game project. This is where we can store our textures, 3D models, scripts, etc.
Your First GameObject

The gigantic window in the middle of the Unity Editor is the “Scene” view. It allows us to see the actual, physical “world” of our game. Put differently, it lets us look into the current level (“scene”) to see what is present. At the moment, almost nothing is! Let’s change that!
- As seen in this demonstration, add a cube to the current “Scene” by moving your cursor into the “hierarchy” view, clicking the “+” button, and finding the cube option. There are quite a few options, so consider trying a different object!
- As seen in the above video, put your cursor over the “Scene” view (the big view where the cube is), and scroll your mouse’s scrollwheel. You should get a nice zoom-in, zoom-out when you do this.
- With your mouse cursor over the “Scene” view, click and hold your right mouse button, then move your mouse around. Your view of the scene should change, as seen in the video above.
- With your mouse cursor over the “Scene” view, click and hold your right mouse button, then press the “WASD” keys on your keyboard. Your view should begin to move around, as if you were playing a first-person video game.
If you click the “Play” button at the top of the Unity Editor window, you can play your game for the first time! Here’s what happens–
Nothing!
While we do have a cube GameObject in our scene, it doesn’t do anything interesting yet. Let’s change that! In Unity, GameObjects (like the cube) will not do anything special without “Components”– each GameObject has at least a few of them, and they may be seen in the inspector view after selecting the gameobject in the hierarchy or scene view.
When you select a GameObject in the hierarchy view–
The inspector view on the right tells us which components that GameObject has–
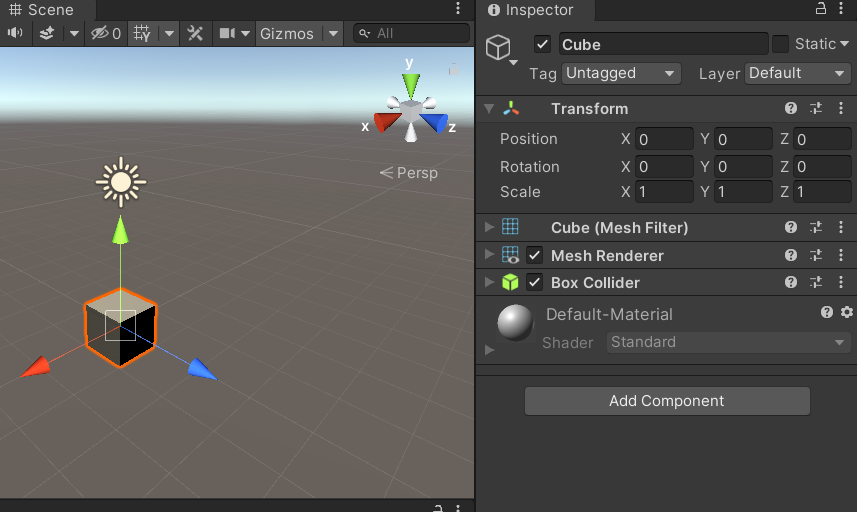
As we can see, the cube has four components (Transform, MeshFilter, MeshRenderer, and Box Collider). Can you spot them in the image above?
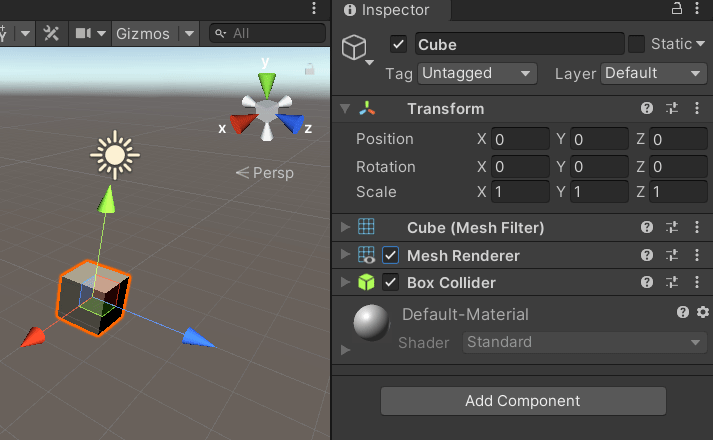
If you ever wonder what a component does, try turning the component off and on to see what changes–
If we want the cube to do something besides stand there, we need to add a new component to it (remember– components cause GameObjects to do things in Unity). A “Rigidbody” component can give physics (gravity, velocity, acceleration, etc) to our GameObject. Add a “Rigidbody” to your cube via the “Add Component” button at the bottom of the inspector–
Now play the game and see what happens–
By adding the “Rigidbody” component to our cube GameObject, it now has the ability to fall with gravity. Unity gives us a wide variety of components to use. In the future, you will create your very own components too!
Importing Roll-A-Ball
Your final objective in this tutorial will be to import and lightly customize Roll-A-Ball.
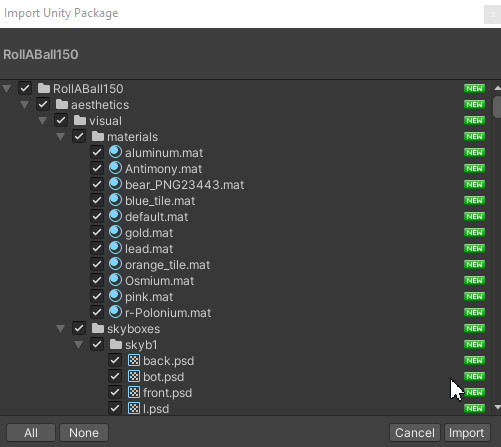
Once the download finished, in your unity editor, import this package via Assets -> Import Package -> Custom Package…
Click the “Import” button on the window that appears–
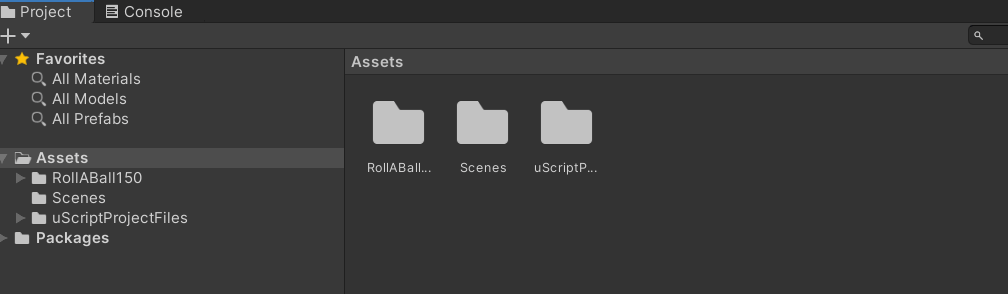
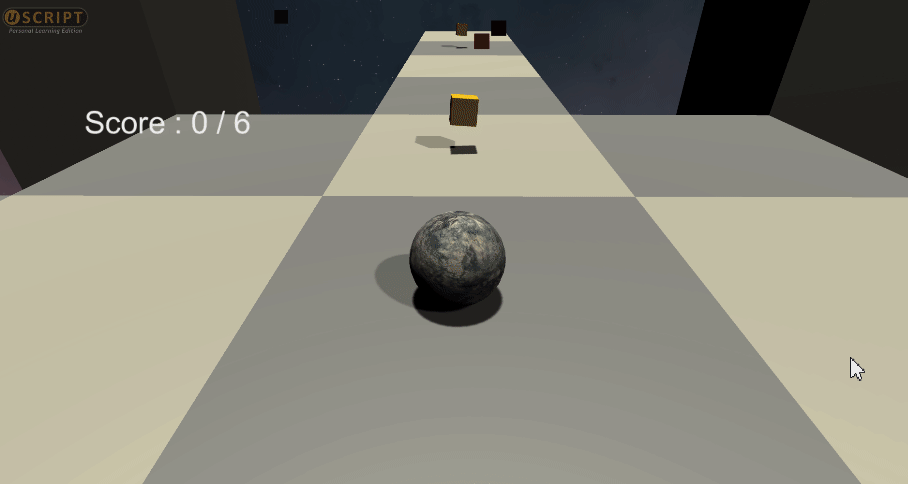
In the project view, locate the “stage_1” scene.
Double click it to open it in the editor. You should see this–
Launch the game and play around! Can you find the 6 hidden collectibles?
One of your homework assignments requires you to customize the game’s level, textures, and player avatar. Below, you may find tips for how to accomplish these things.
Customizing Level Design
- As seen in this video, you may use the scene view and inspector to duplicate, move around, rotate, and scale GameObjects in order to create a unique stage.
- You may use Control-D or Command-D to duplicate an object.
- If you hold the “control” button while moving an object, it will “snap” to a grid.
- If you add additional collectibles into the level, adjust the “total_possible_points” property in the “can_collect” component on the “Player” gameobject.
Customizing Textures
- As seen in this video, you may add textures to your game by finding an image online, dragging the image from your filesystem into your Unity Editor “Project View”, and then dragging the texture onto an object in the “Scene View”.
Customizing the Player GameObject
We would like to obtain a new 3D model to replace the sphere that represents our player gameobject.
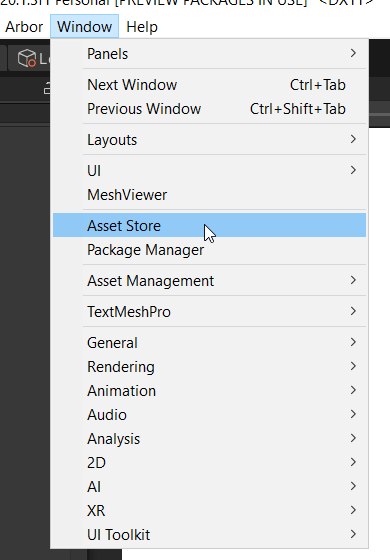
- Locate the Unity Asset Store via Window -> Asset Store
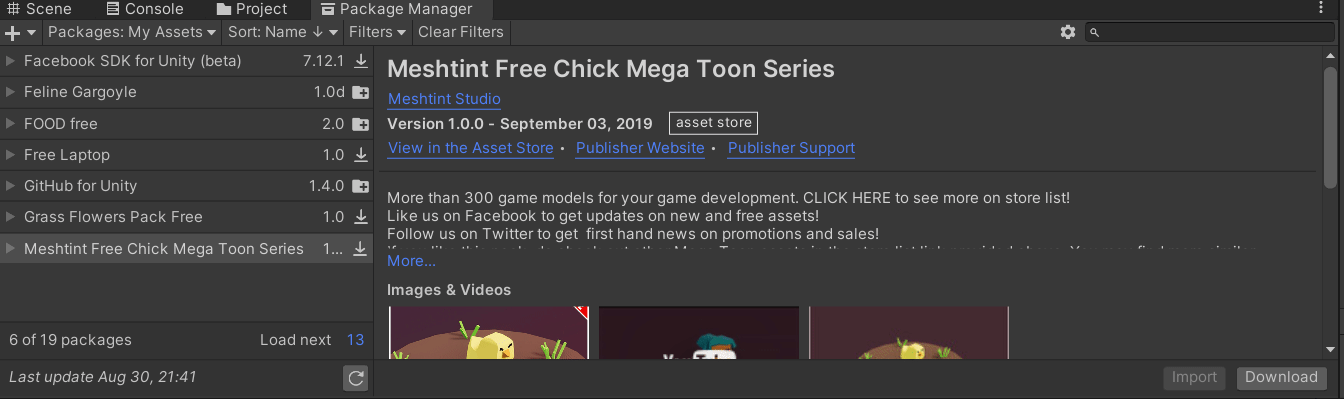
- Once in the Asset Store, search for a 3D model that entertains you (use the free assets filter)–

- Click “Add to My Assets” -> “Open in Unity” -> Download -> Import -> Import, and you should find new files added to your Project view.
-
As seen in this video, locate the 3D model you downloaded, drag it into your player gameobject (“parenting” it), then disable your sphere’s sprite renderer. You may need to adjust the local position of your new 3D model, which is shown in the video.
-
If necessary, find the material that came with your 3D model and drag it onto the model using the scene view (as seen in this video)