(Yarn) Intro to Yarn : Basic Interactive Dialogue and Branching
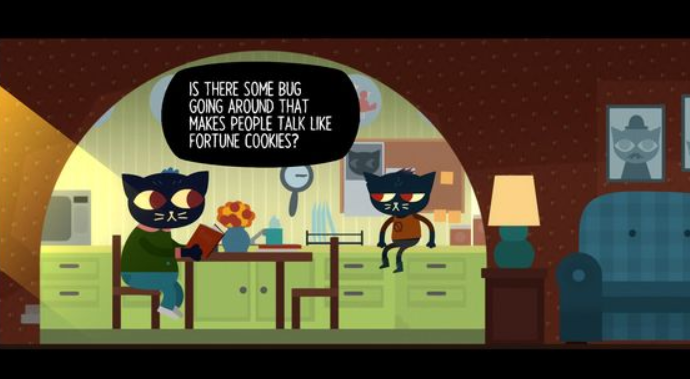
Yarn, the dialogue system used in Finji’s 2017 indie game Night in the Woods, is available for use in your own game. It looks a bit like this–
And works in your web browser, supports branching dialogue, variables, etc.
Follow this guide to integrate Yarn Dialogue into your project!
(1/4) Installing YarnSpinner into your Unity Project
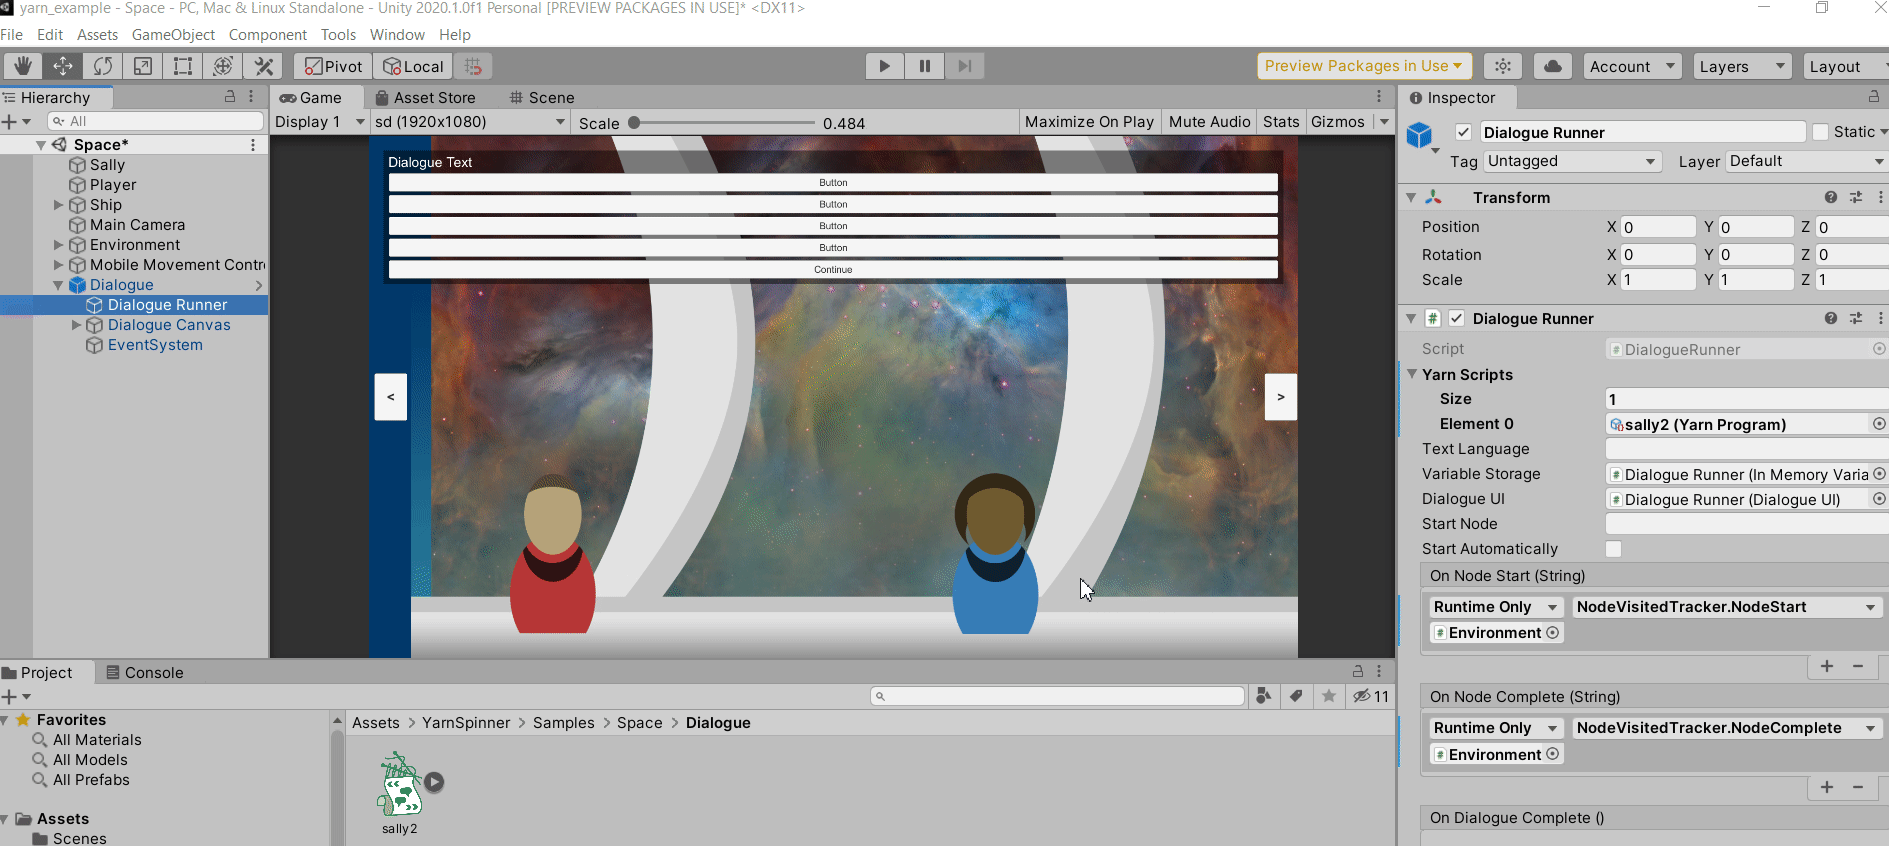
Check your latest Roll-A-Ball project. Does the “stage_1” scene have a “_DialogueSystem” gameobject in it (as shown here)? If so, you don’t need to download anything– you’re all good to go. You may find the “space” yarn dialogue example scene by searching in the project pane like so.
If you don’t have the space example scene, or the _DialogueSystem gameobject, you may download the Roll-A-Ball unitypackage (which includes Yarn) from this tutorial.
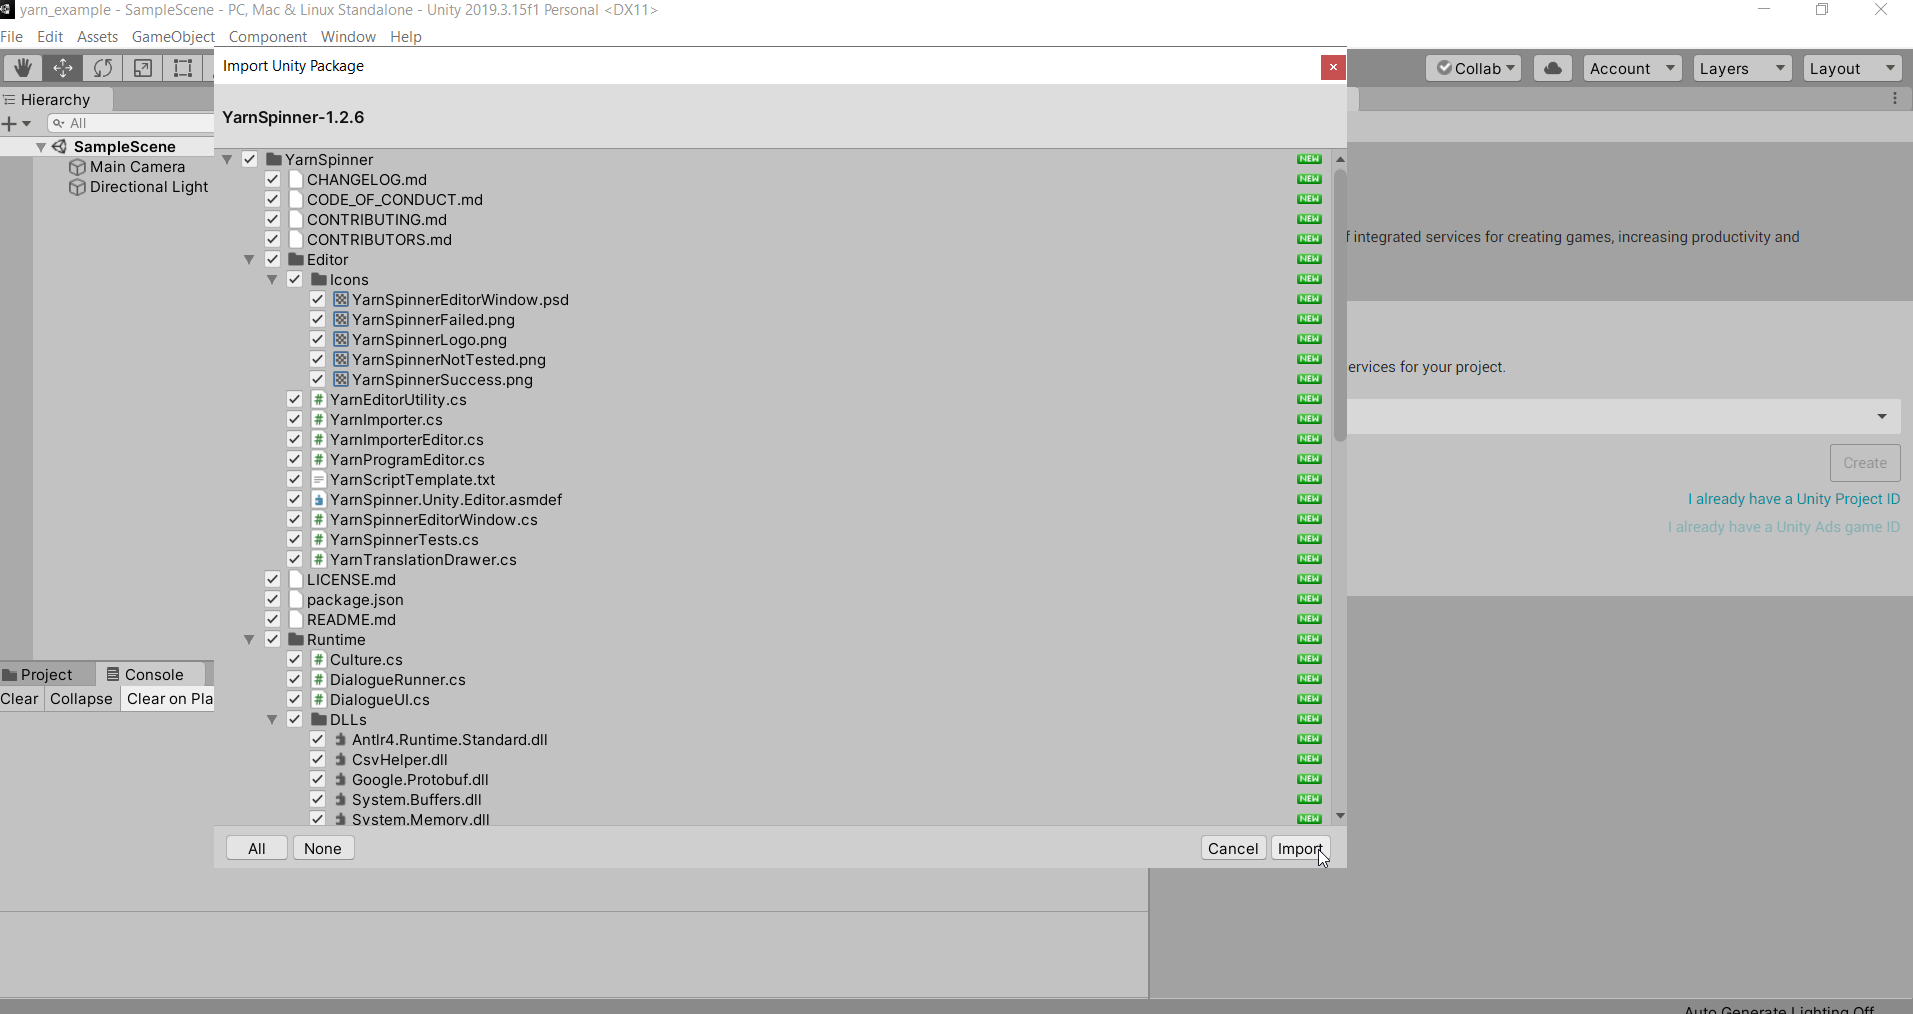
With the Unity Editor open, double-click the .unitypackage file to import the package into the current project. Click “Import” on the bottom-right corner of the window that appears.
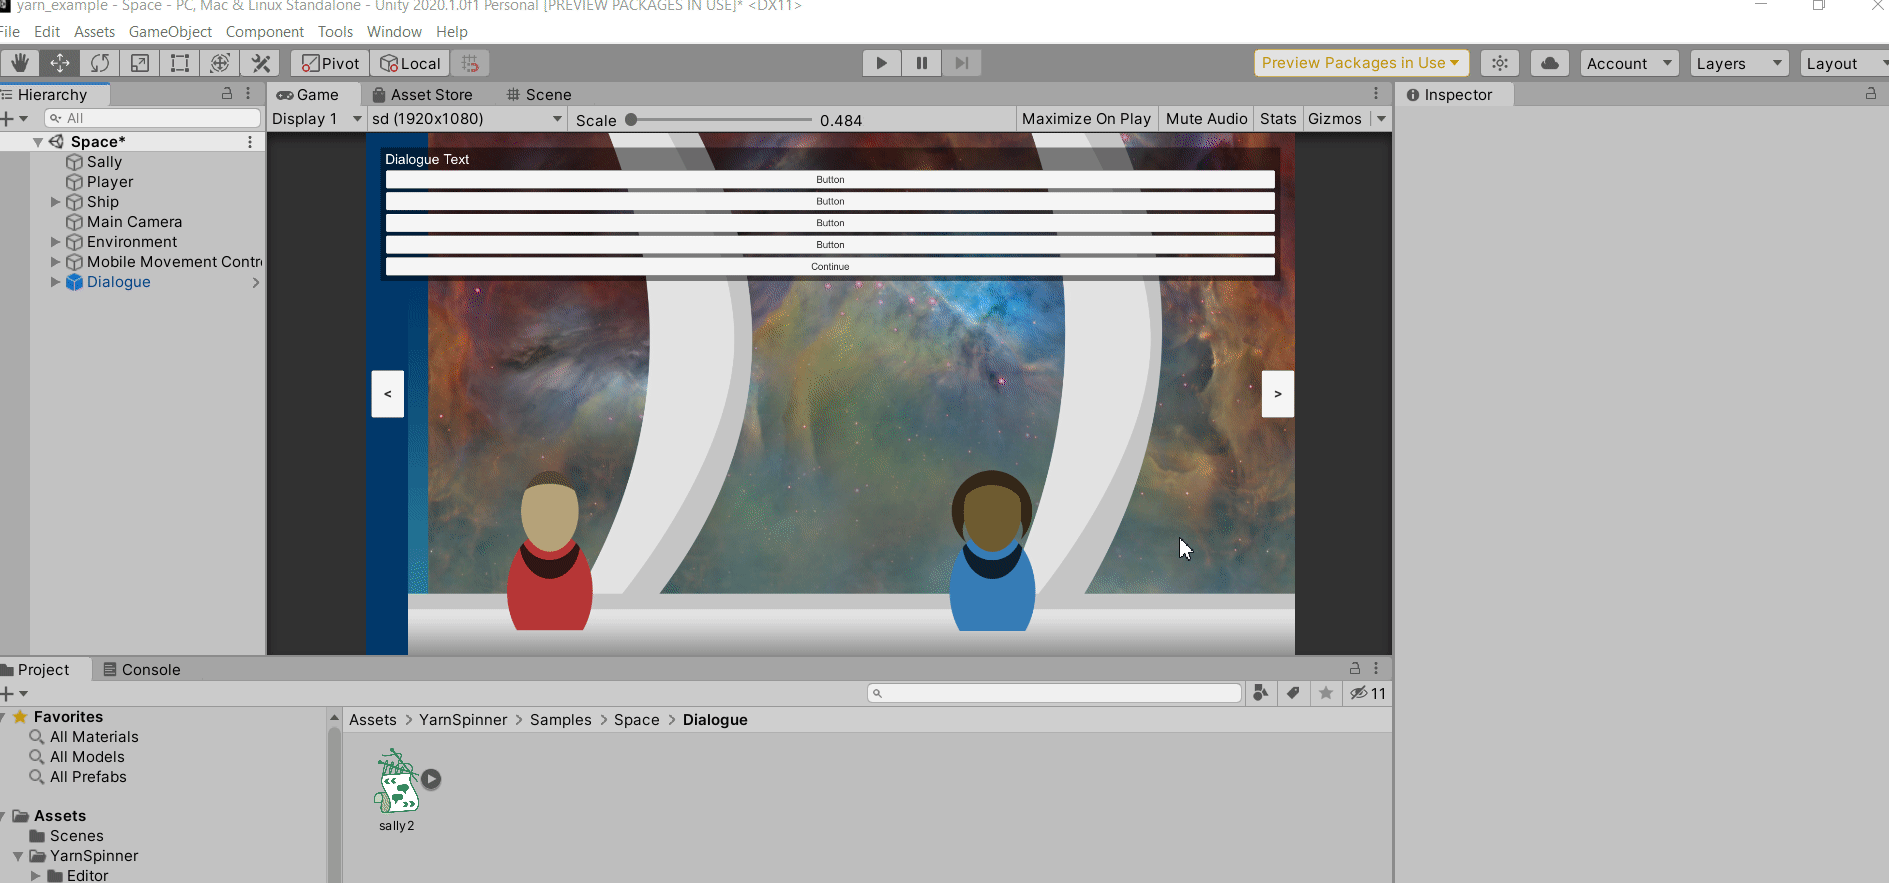
Navigate to, and open up, the “Space” sample scene in your “Project” pane (Assets -> YarnSpinner -> Samples -> Space -> Space.unity

Play the game, using the arrow keys for movement and space bar to begin dialogue.
If the dialogue doesn’t seem to be working, you may need to add a yarn script to your dialogue runner. Do so by following this video.
If it still doesn’t seem to be working, see if you can follow this process.
If you wish to move this dialogue into another scene (for instance, the scene in which Roll-A-Ball is played), follow this process.
(2/4) Editing Dialogue in the Yarn Editor
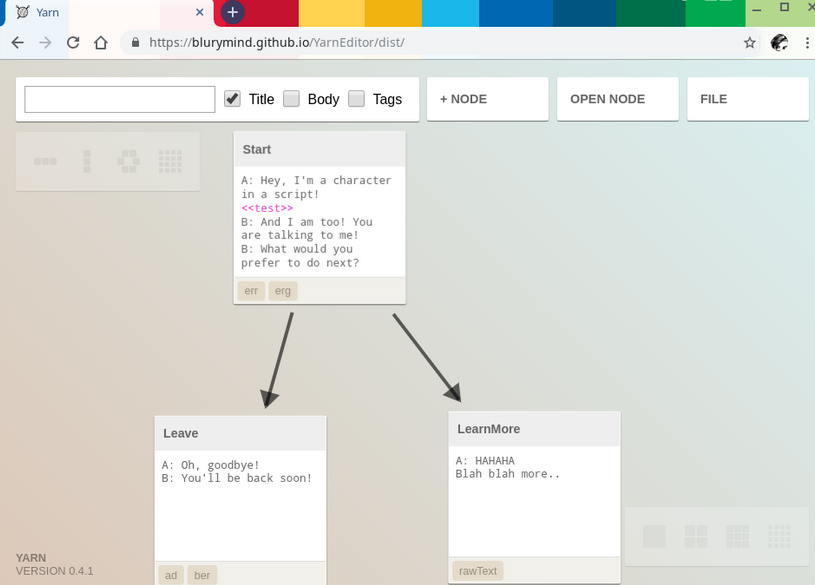
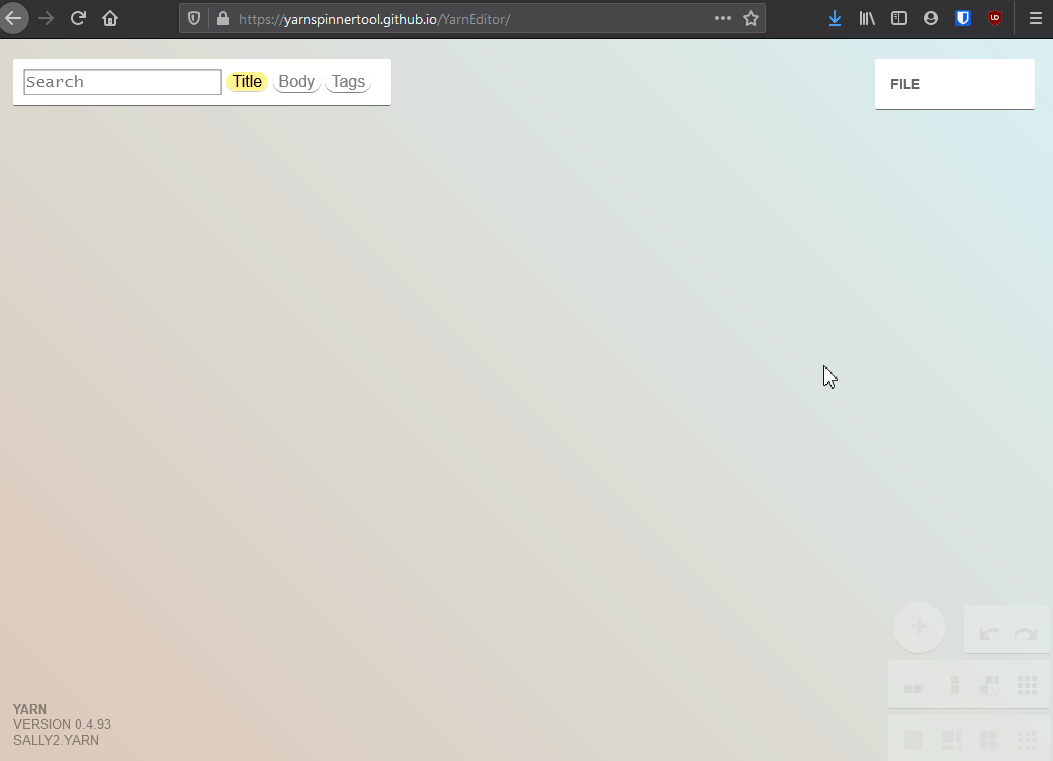
Visit (and consider bookmarking) the online Yarn Editor tool
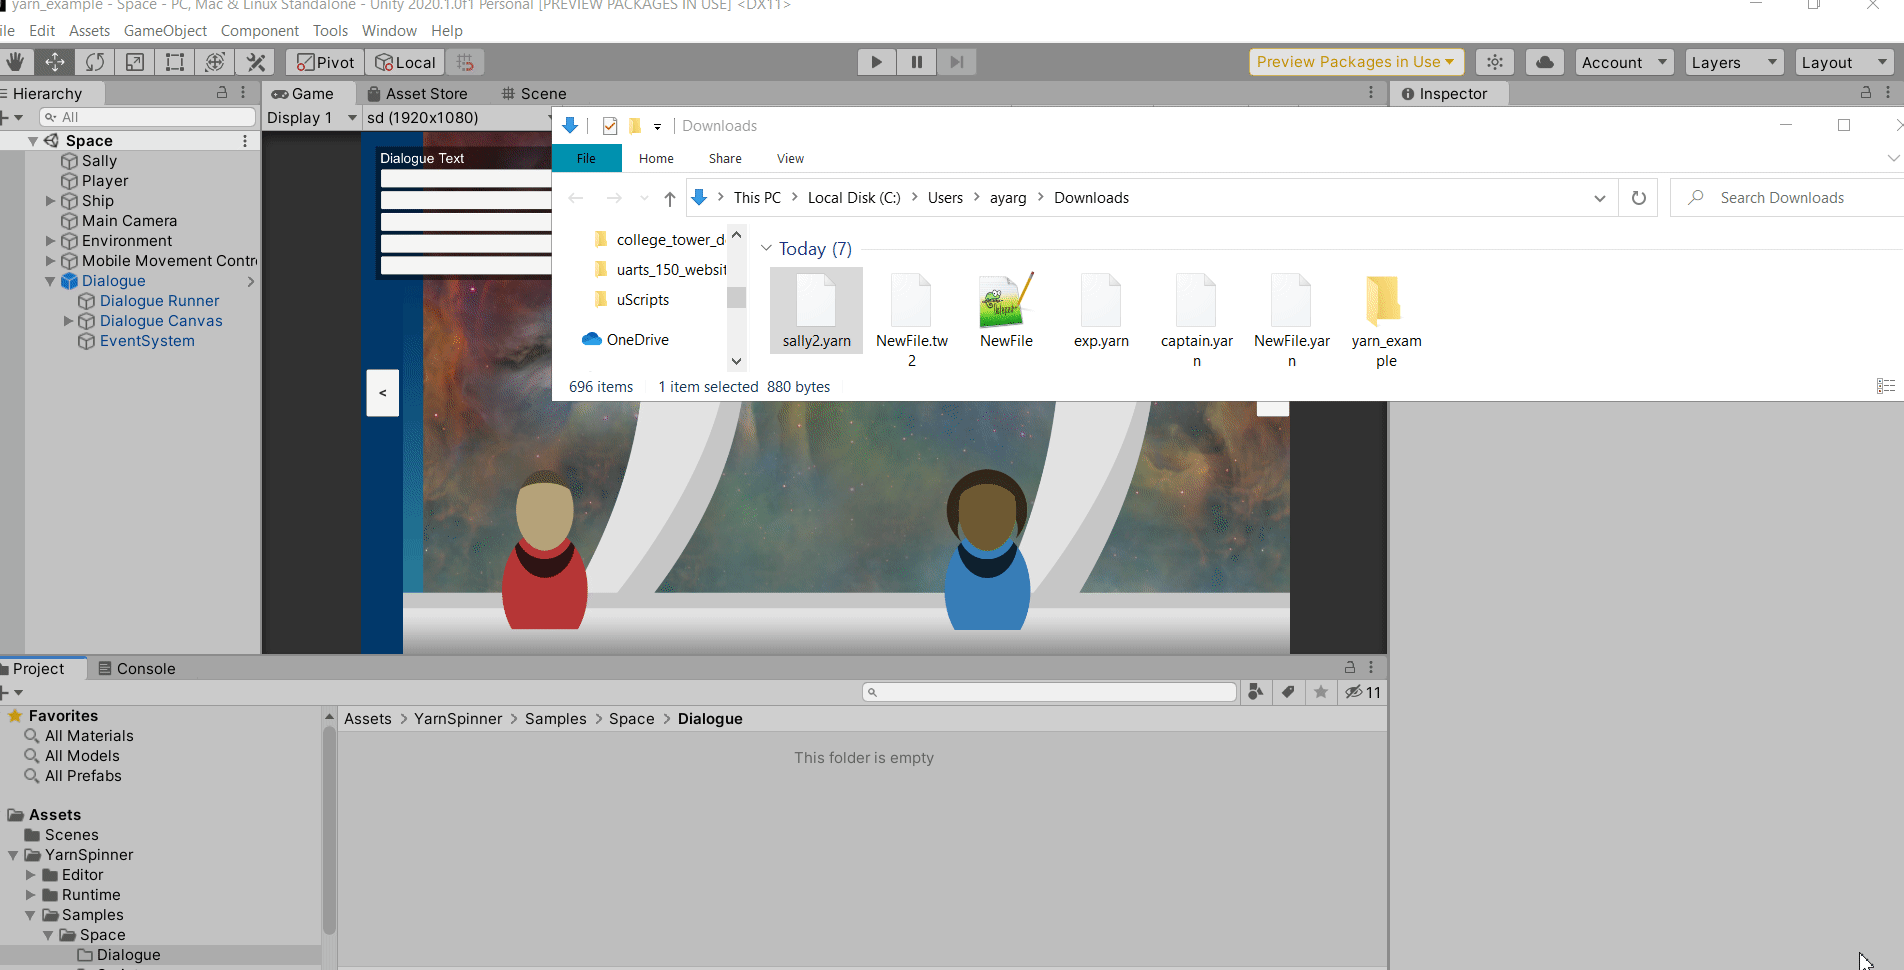
Download this yarn file
In the top-right corner of the Yarn Editor window, click File -> Open… and navigate to the .yarn file you just downloaded.
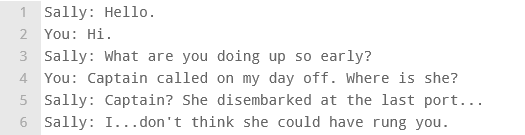
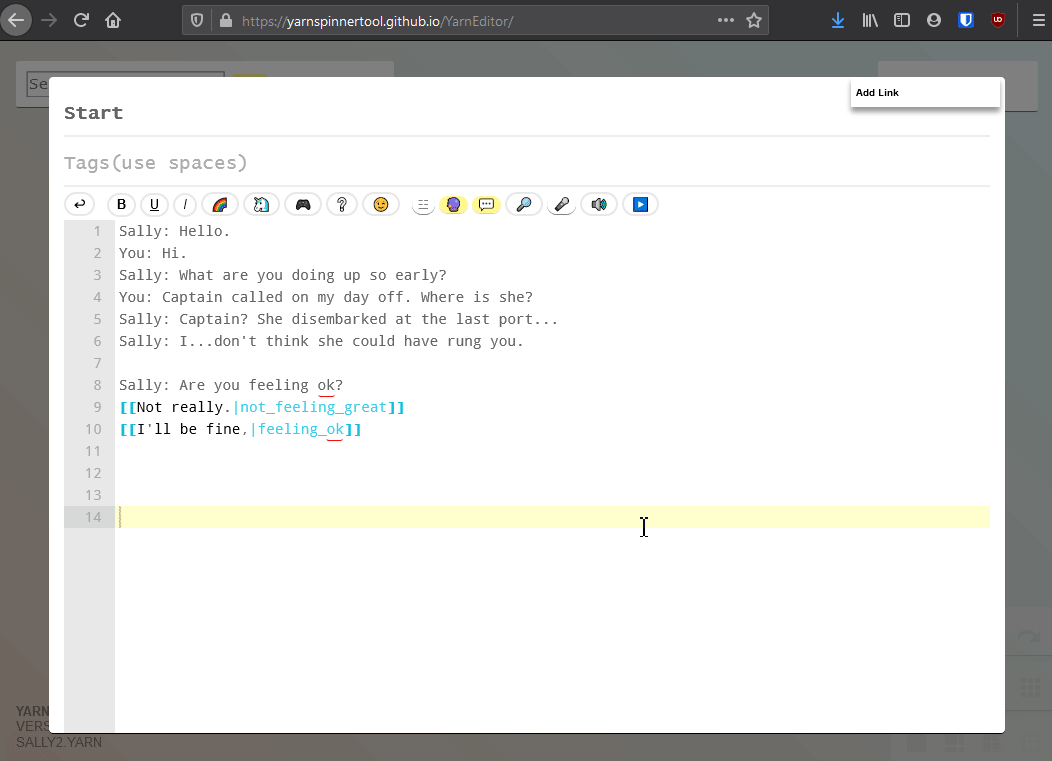
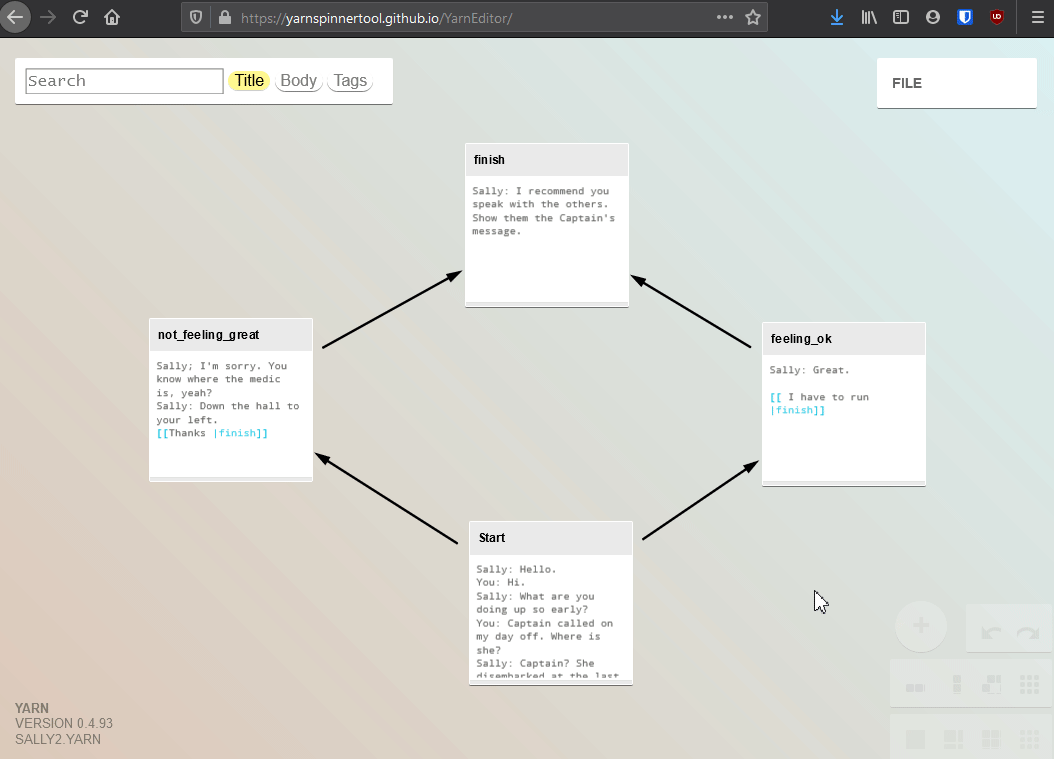
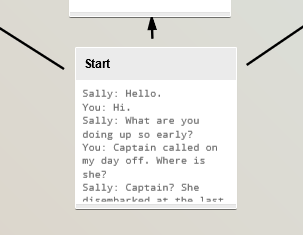
Several “nodes” should appear. Each node contains a handful of lines between several characters. Double-click the bottom node (the ones with two arrows coming out).
You should see a handful of dialogue lines between a character named “Sally” and yourself (“You”)–
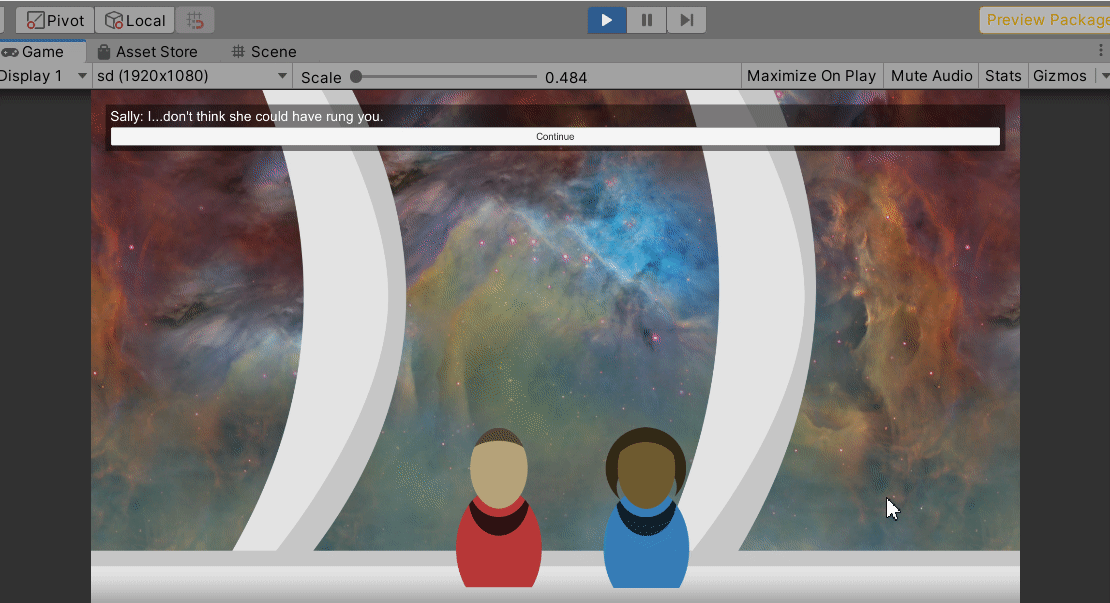
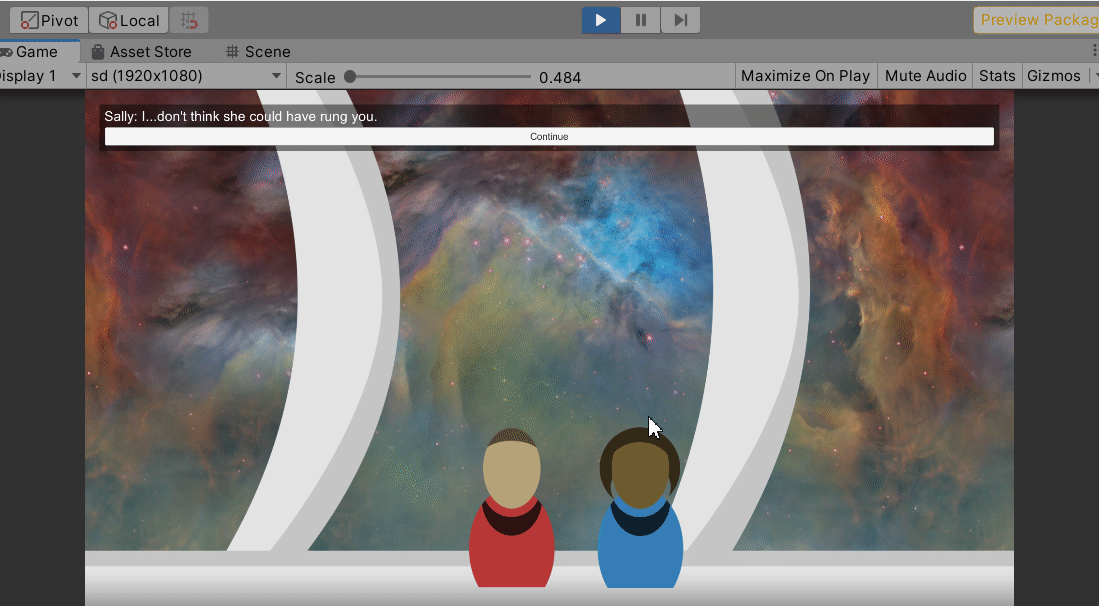
If we insert this Yarn file into our game (see the section below for how to do so), it plays out like this–
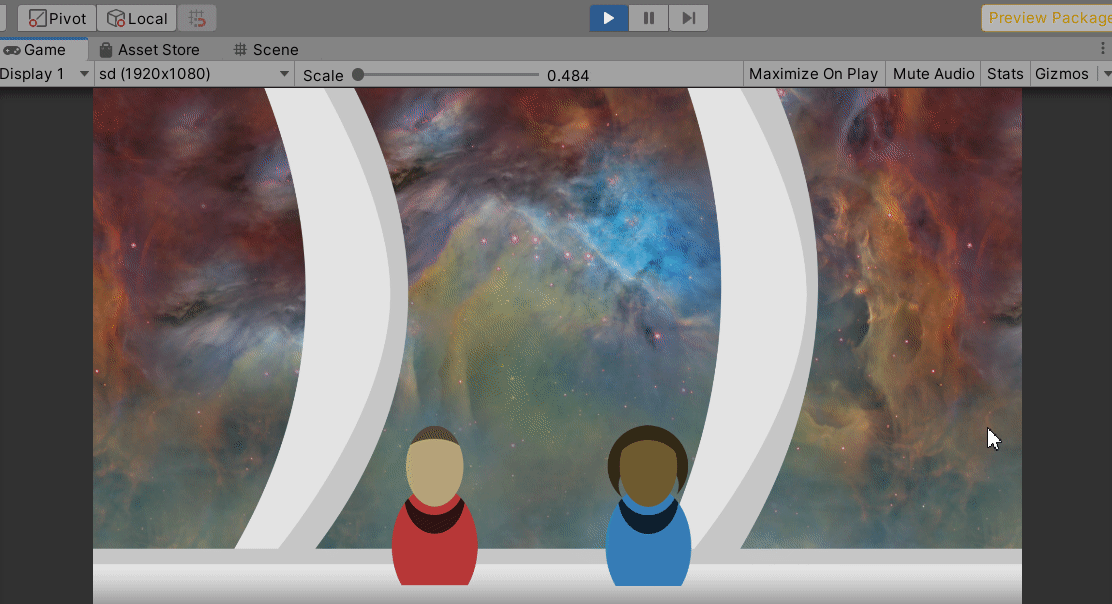
Each line of a yarn node appears on its own, and the player may click-through to see subsequent lines.
What about the lines at the very bottom of the node?

Lines 9 and 10 represent Branching Dialog. When dialogue playback reaches this line, players get a choice of which thing they want to say in response to Sally’s question (“Are you feeling ok?”).
Here’s how lines 8, 9, and 10 look in Unity.
The two branching line options are presented in the form of buttons that the user may click.
Notice how only the left “side” of the branching line appears. The right, blue “side” does not appear. For example “Not really.” appears in one of the buttons, but the right side of that line “not_feeling_great” does not show up in the game.
This is because the right, blue side of the line is telling Yarn what node we should play if the user chooses that branch.
If you ever see a line sandwhiched by “[[” and “]]” (the double square-brackets), this is a branch. The first part of the line is the dialogue text, and the second, blue part (behind the vertical pipe character) is the name of the linking node that we will go to if the player chooses this dialogue option.
You may edit-in more branching options to create new nodes, like so–
NOTE : Node names cannot have a space in them. Please use an underscore instead if you need a space.
(3/4) Adding Yarn Files to our Game
Making edits in the Yarn Editor doesn’t automatically propogate those changes to our game. We need to download the changed .yarn file first, and insert it into our project.
In the top-right of the yarn window, click File -> Save as Yarn.
Once the yarn file is downloaded, drag the file from your explorer / finder window into the Unity project pane, like so–
Once done, we need to add our yarn file to the DialogueRunner system. Open the “Space” scene, and do the following–
Now the DialogueRunner (the system that runs our dialogue for us) knows about the yarn script we’ve created!
Finally, we need to tell the “Sally” gameobject which yarn node to start at when we talk to her. Make the following change to the “Sally” gameobject–
We enter the text “Start” because that is the name of the node we want to run first when we talk to her during gameplay.
If we wanted dialogue with her to begin at a different node, we can enter a different node name.
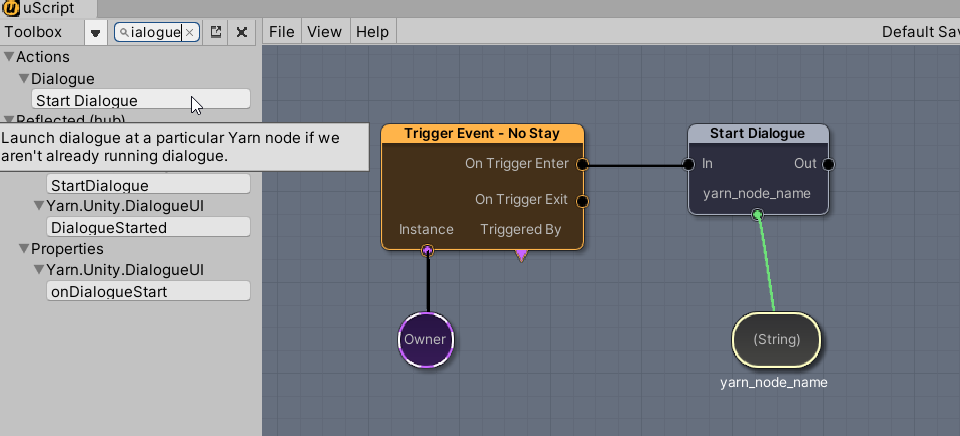
(4/4) Launching dialogue via uScript
When it comes to launching dialogue, you have several options. You may use one of the built in dialogue-related components, such as…
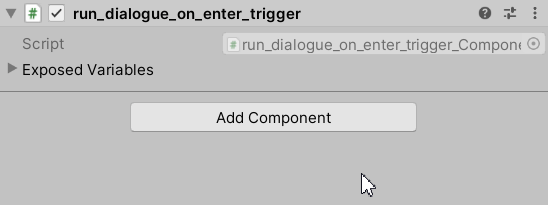
- The “run_dialogue_on_event_trigger” component.
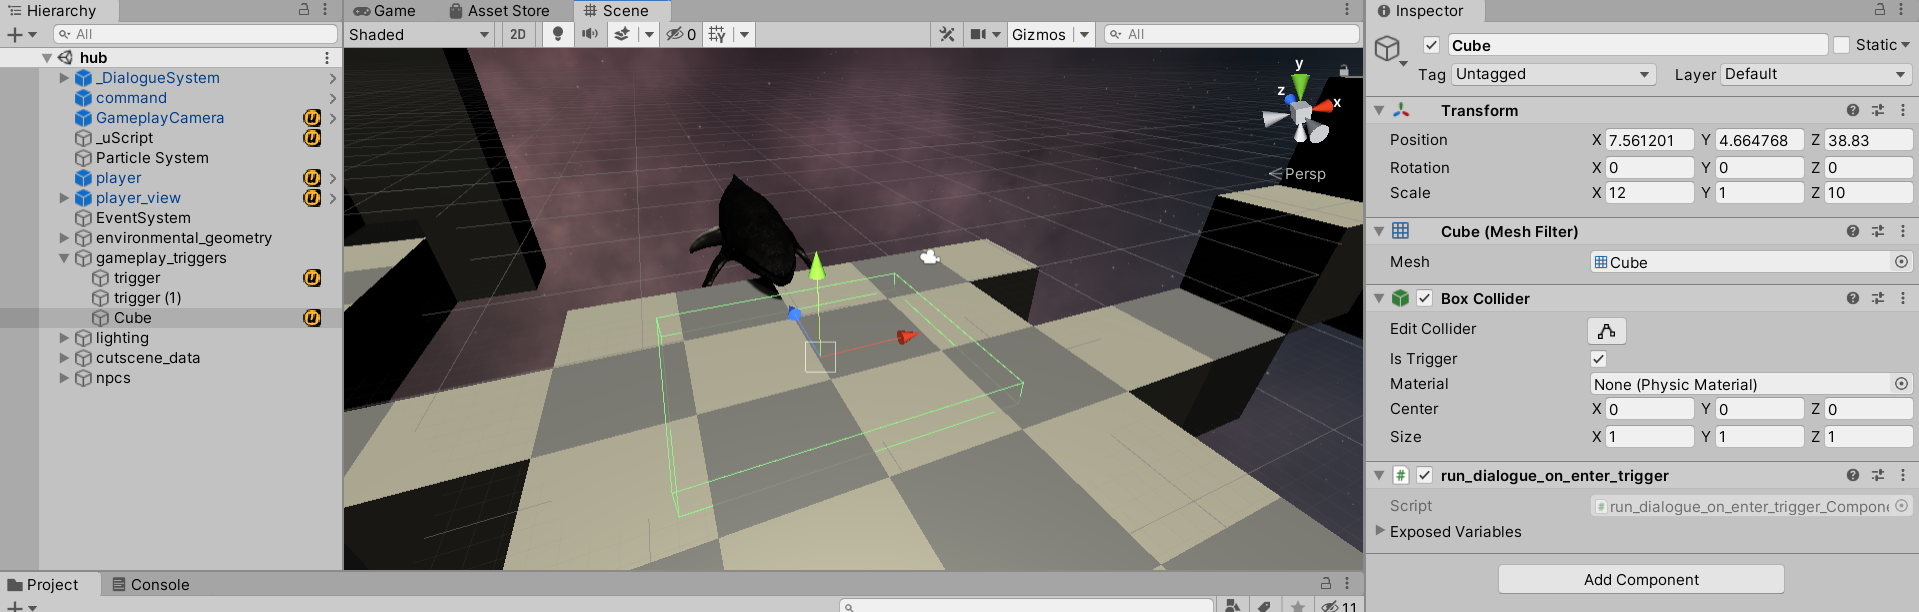
You can see the component on the right in the screenshot above. It has been attached to an invisible cube that also has a “Box Collider” component with the “Is Trigger” checkbox checked. When a player touches this box, dialogue will begin at the node specified in the “Yarn Node Name” property.
Alternatively, you may use the “Start Dialogue” node in your uScript graphs. The “run_dialogue_on_event_trigger” component is a uScript graph, and you may see how it uses the “Start Dialogue” node here to launch dialogue when the player touches a trigger.