(Unity) HOWTO : Basic Unity Audio
Playing Sounds (The Easy Way)
As shown in this video, you may get an audio file playing in-game within ~90 seconds– no uScript coding necessary!
Here are the steps–
- Drag whatever audio file you have found into the “Project Pane” of your Unity Editor. If you don’t have any audio yet, you may find some at freesound.org or opengameart.org.
- Create a new AudioSource gameobject by clicking “+” -> Audio -> Audio Source in the hierarchy.

- Select the new AudioSource gameobject, then look at the inspector. You’ll find it has an “Audio Source” component.

- Click “Bypass Effects”, Bypass Listener Effects” and “Bypass Reverb Zones”–

These checkboxes ensure that the audio won’t be attenuated by distance, or affected by any moving objects (doppler effect).
- Decide if you want this audio file to loop, and check that box if so.
Playing Sounds (The More-Controllable Way)
Say we want more control over when our audio plays. What if we wanted to play a shorter sound repeatedly, maybe with a random delay? This could be useful if we wanted to create some ambient animal sounds, for instance (perhaps an owl hooting repeatedly in the distant darkness)?
We can handle audio in any way we desire with the use of a new uScript node! The “Play Sound” node–

Here’s an example graph that uses it. Can you tell what it does?

This graph repeatedly plays an audioclip (“sound_to_play”) every “delay” seconds (with the addition of a random delay up to “max_random_extra_delay_sec”). This sound comes out of the “gameobject_to_emit_sound” gameobject.
In other words, this “play_sound_repeatedly” graph gives us a new component that does exactly what we wanted earlier, as you may see in this video.
Adding a Jump Sound Effect
We can make our platformer much more polished and playful by playing a sound effect whenever the player jumps. In the future, we could do the same to interactions, collection of items, etc.
- Open up the “arrow_key_movement” uScript (as this is the one that controls our player’s…controls).
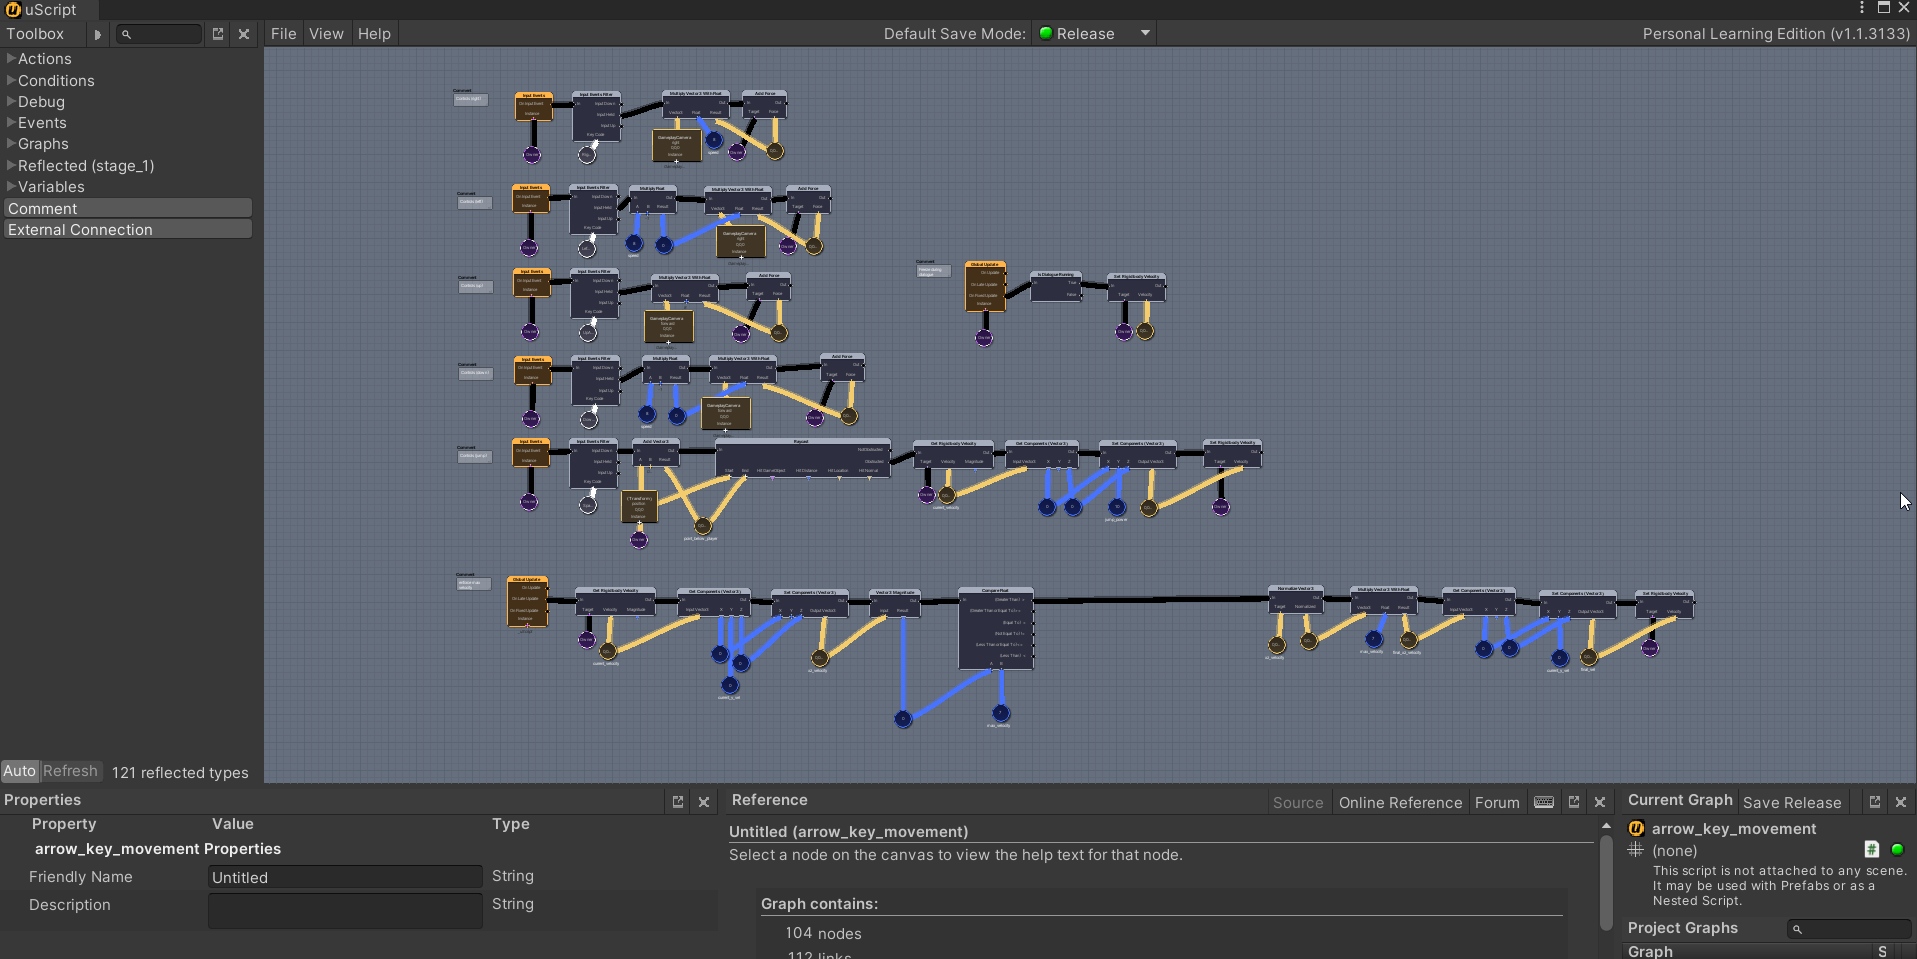
What a large component!
- Zoom in and look around until you find the jump-related logic, seen below–

- At the end of this logic chain, create a new “Play Sound” node.

- Connect this new node to the previous one so it will execute at the end of the jump. Hook it up to a new Owner Gameobject (we want the jump sound effect to emit from the player), and a new AudioClip variable (and make it public so we can specify our audio clip in the inspector).

- Save the graph, then drag your “jump” audio file / audio clip into the upgraded “arrow_key_movement” component that exists on your player gameobject as seen in this video!
There is now an owl “hoot” that occurs every time the ball jumps. I recommend a shorter audio file for a much more polished effect.
Conclusion
The “Play Sound” uScript node is a powerful tool, allowing you to inject atmosphere, playfulness, and a variety of emotions into your game through the power of audio. Try sticking this new node into other uScript graphs to see what happens. Can you figure out how to make a sound play when the player collects a pickup? (Try adding this new node into your “can_collect” uScript!
Subscribe to Future Devblogs!
Subscribe here to be notified when we publish future devblogs, tutorials, etc.