(unity) HowTo : Transfer Assets from one Project to Another
Suppose you have a project containing some impressive, useful stuff– uScripts, music, level designs, etc. You may want to re-use it in another project. Perhaps this current project was created for a tutorial, or was experimental, and the experiment has ended.
How can we easily and quickly transfer your assets, uscripts, scenes, textures, sounds, etc from one Unity project to another? UnityPackages are a technology built for this problem. You will create one in your current project, and then import this package into your other project. UnityPackages are similar to .Zip files.
(1/2) Create a unitypackage
Locate the assets you would like to transfer, and select them via shift-click or control/command-click.
An export dialogue will appear showing you everything that will be in your newly-created unitypackage. Click “Export” and decide what to name your unitypackage and where it should go in your file system.
(2/2) Import unitypackage into other project
Open your other project in the Unity Editor (this is the project we wish to import the assets into).
Once open, right-click inside of the “Project” pane at the bottom of the Unity Editor. From there click “Import Package -> Custom Package…”, like so–
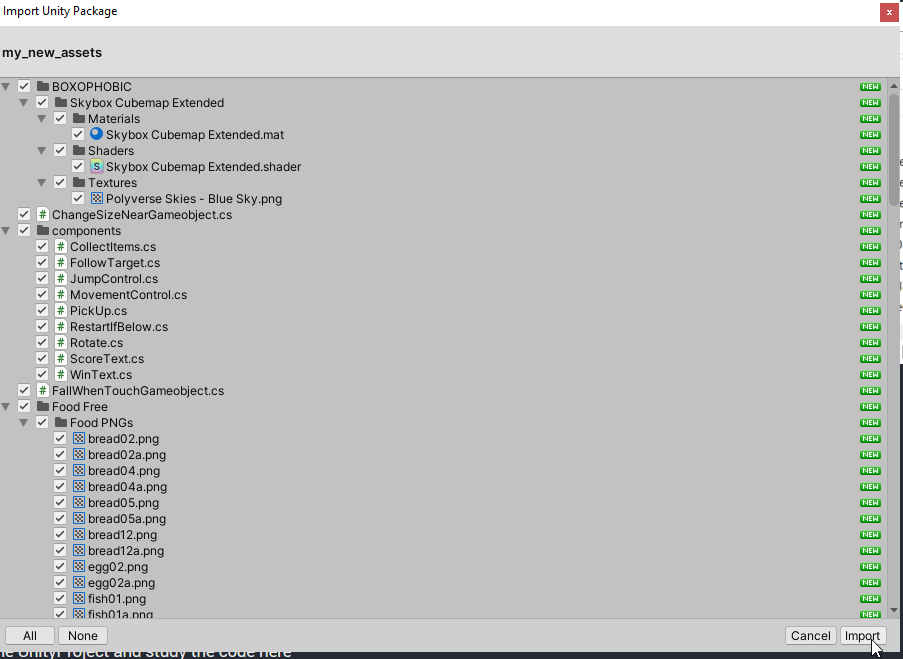
A package import dialogue will appear. Click “Import” in the bottom-right corner of the dialogue–
Once the importation process finishes, you should find the transferred assets in the project pane–
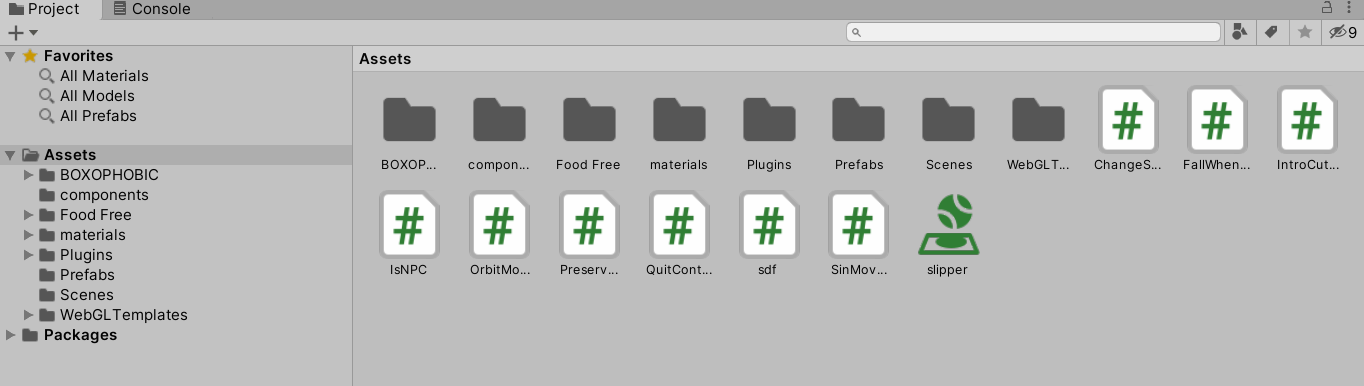
Congratulations! You have moved assets, scripts, scenes, textures, sounds, etc between projects.
If you are working on a team, note that using the Unity Collaborate system is a faster and more convenient way to synchronize your work with teammates. Please search this website for the “Unity Collaborate” tutorial to set that up.